The original idea for the wheels was to just paint them and be done with it, but after gaining some more appreciation for polishing I decided to go with chrome lips and charcoal faces. The wheels were stripped back to bare metal and had their bearings removed. Once there the lips were sanded and buffed, before painting the faces charcoal grey and installing new bearings. Unfortunately I had some bad luck, having to polish the wheels twice as a tyre fitter damaged the lips on both wheels while fitting spare tyres. Funnily enough it's the first time a workshop has touched anything on the bike since the build started. Once the wheels were out of the way the sprocket carrier was repainted and fitted with a new bearing, dust seal and a hefty 53 tooth 520 pitch sprocket.
☆PROCESS☆
POLISHING
To prepare the wheels for sanding they were covered in diggers paint stripper (applied with a brush) to get them back to bare metal. It takes about 3-4 heavy coats to do a good job.
 |
| Paint on wheels bubbling due to paint stripper |
 |
| Wheels stripped back to bare metal |
From there the actual sanding started, the items used were (in order):
- Grinder Poly Flap Disc 'Fine'
- P600 Grit Wet
- P800 Grit Wet
- P1200 Grit Wet
- Sisal Wheel w/ Tripoli Compound
- Loose Leaf Wheel w/ SS Compound
- Loose Leaf Wheel w/ 'PURPLE' Metal Polish
 |
| Grinder Poly Flap Disc 'Fine' |
 |
| P600 Grit Wet |
 |
| P1200 Grit Wet |
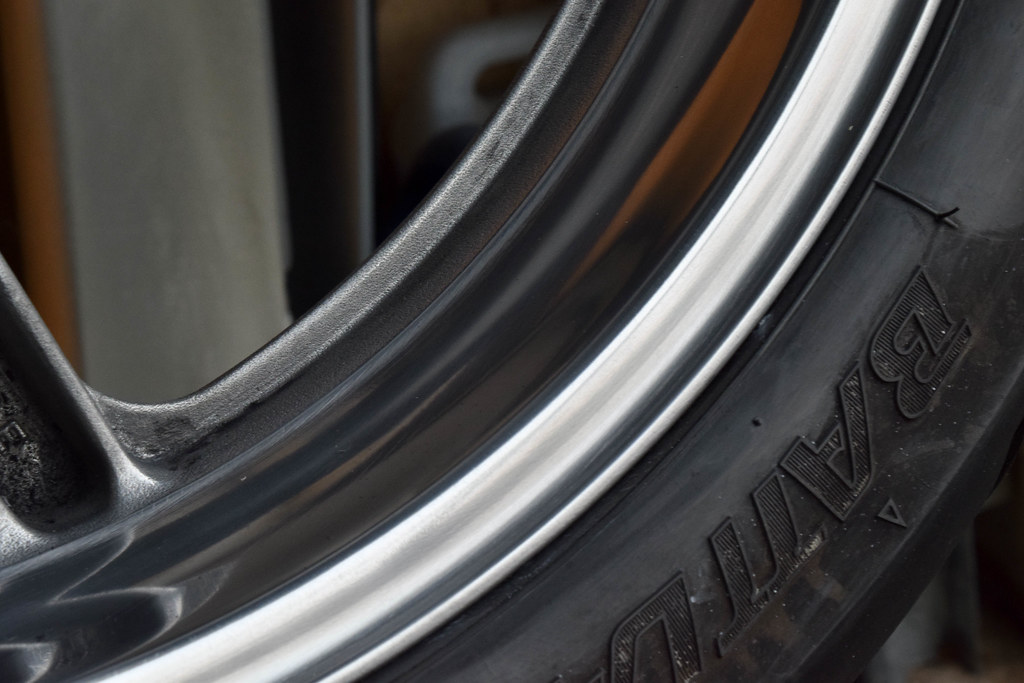 |
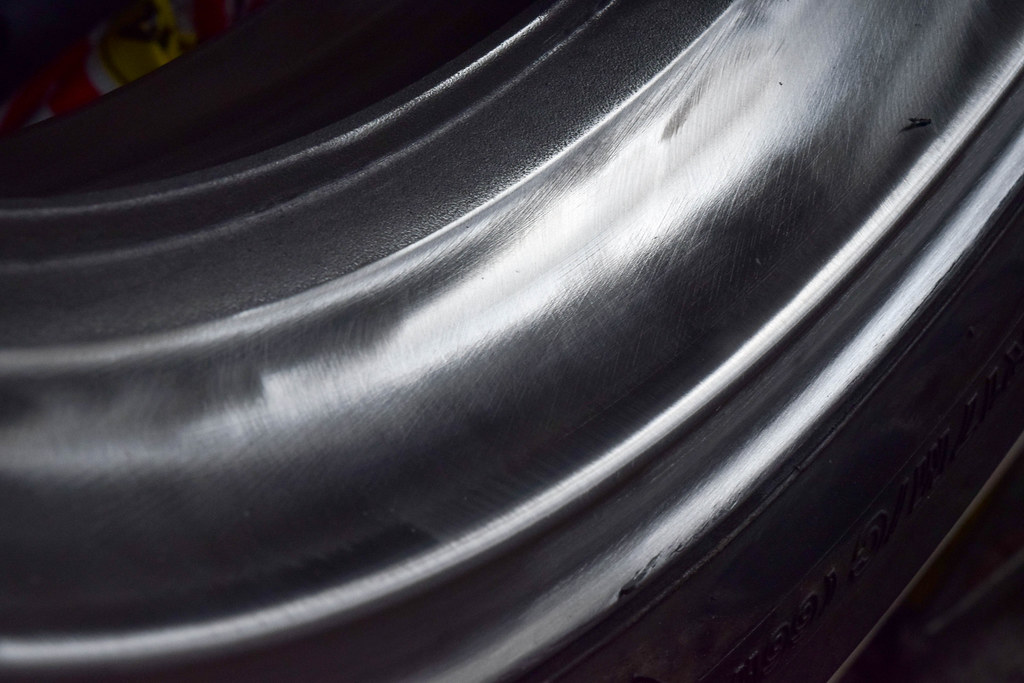
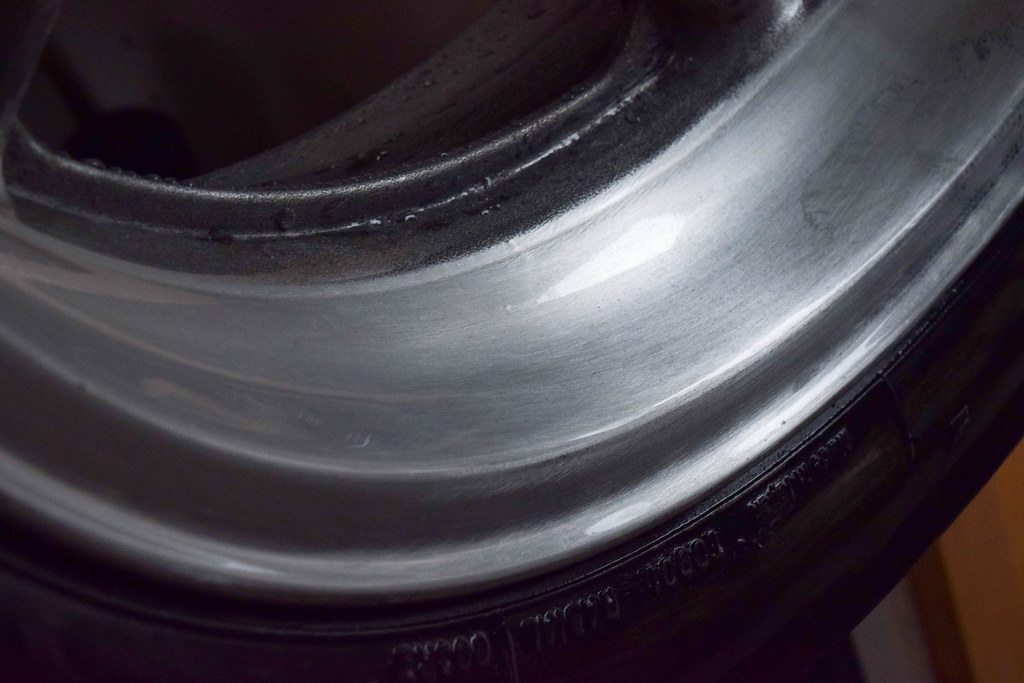
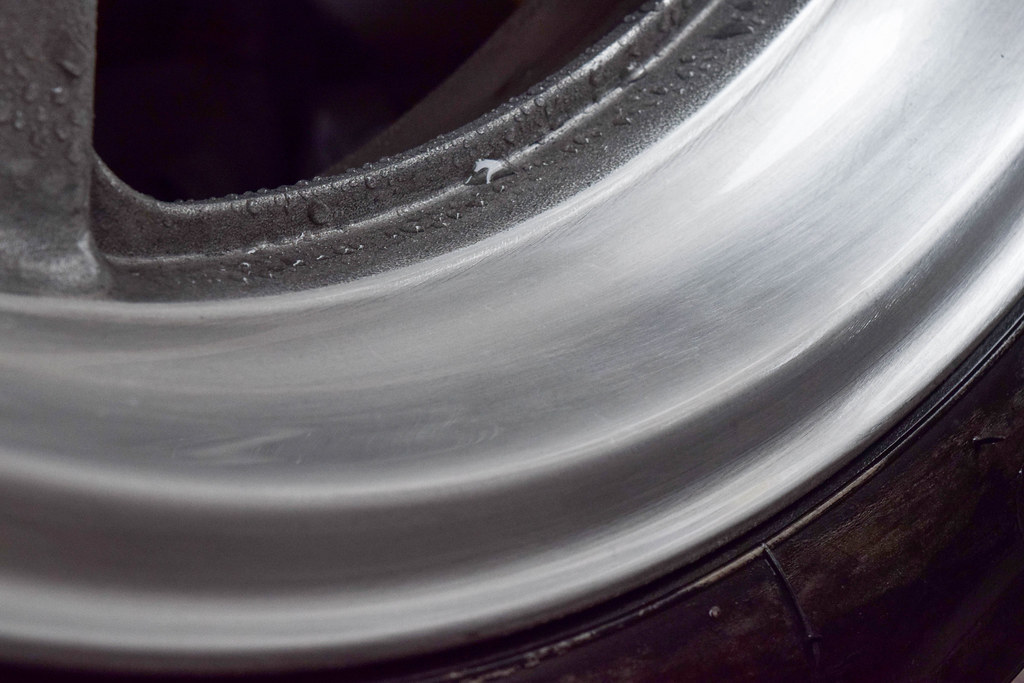
| Loose Leaf w/ 'PURPLE' Metal Polish |
The lips came up great however they aren't a proper mirror finish like the frame, finer sanding before the buffing stage would give them the same finish.
BEARINGS
1. REMOVAL
(FRONT/REAR WHEEL)
Firstly the dust seals need to be removed by prying upwards from underneath with a flat head screw driver.
 |
| Flat head screw driver positioned under the dust seal |
Besides the wheel, the assembly that the axle sits in includes the dust seals, bearings and a metal collar. The bearings are placed on either side of the wheel with a metal collar between them which the axle sits inside. The only difference between the front and rear is that there is no dust seal on the sprocket carrier side (assuming it's not attached).
 |
| Bearings either side of metal collar |
In order to remove the bearings a flat head screw driver and a hammer both need to be used to catch the inner lip of the bearing and force it outwards. As the bearing moves outwards the metal collar becomes free and more of the bearing is revealed making it easier to force out.
 |
| Bearing almost fully removed |
 |
| Bearing removed and metal collar revealed |
 |
| Bearings and metal collar all removed |
Both front and rear wheels run this design/setup.
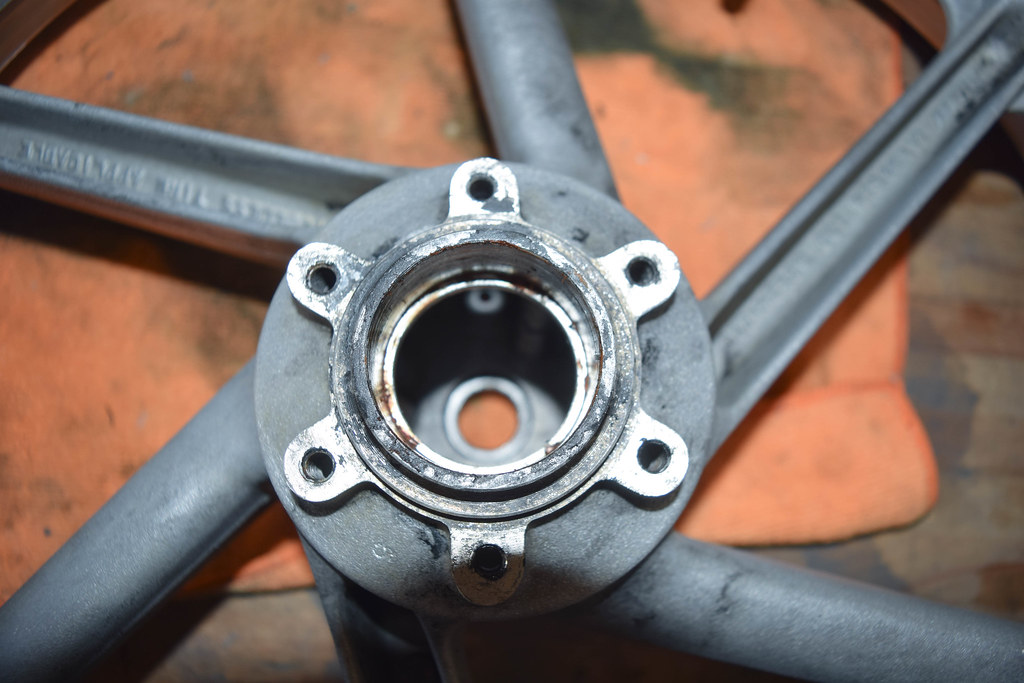
(SPROCKET CARRIER)
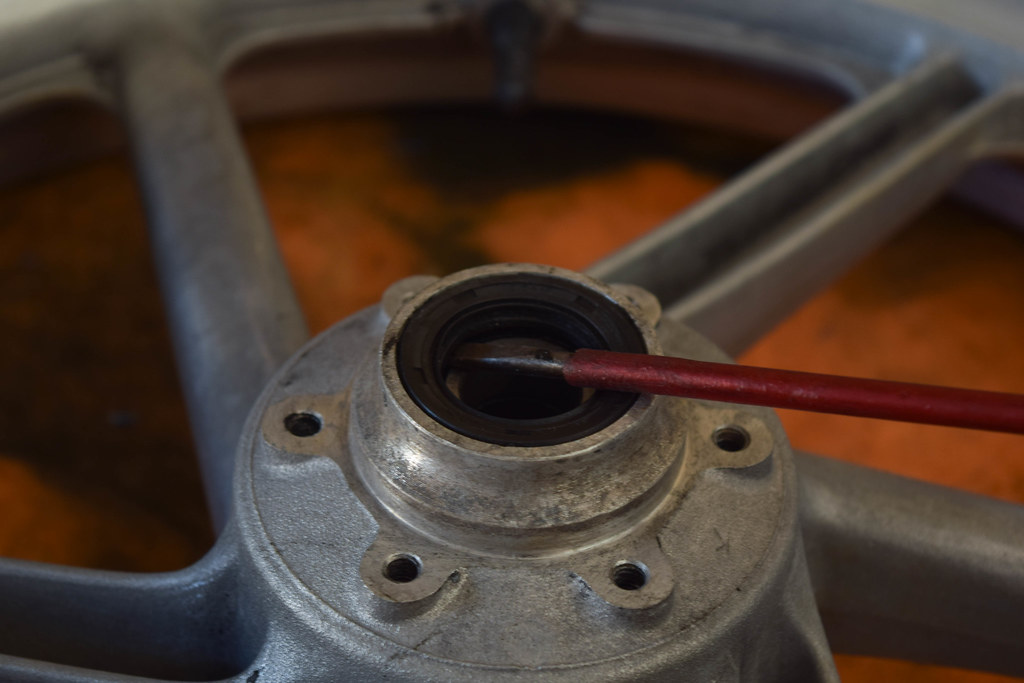
Again, the dust seal needs to be removed by prying upwards from underneath with a flat head screw driver.
 |
| Flat head screw driver positioned under the dust seal |
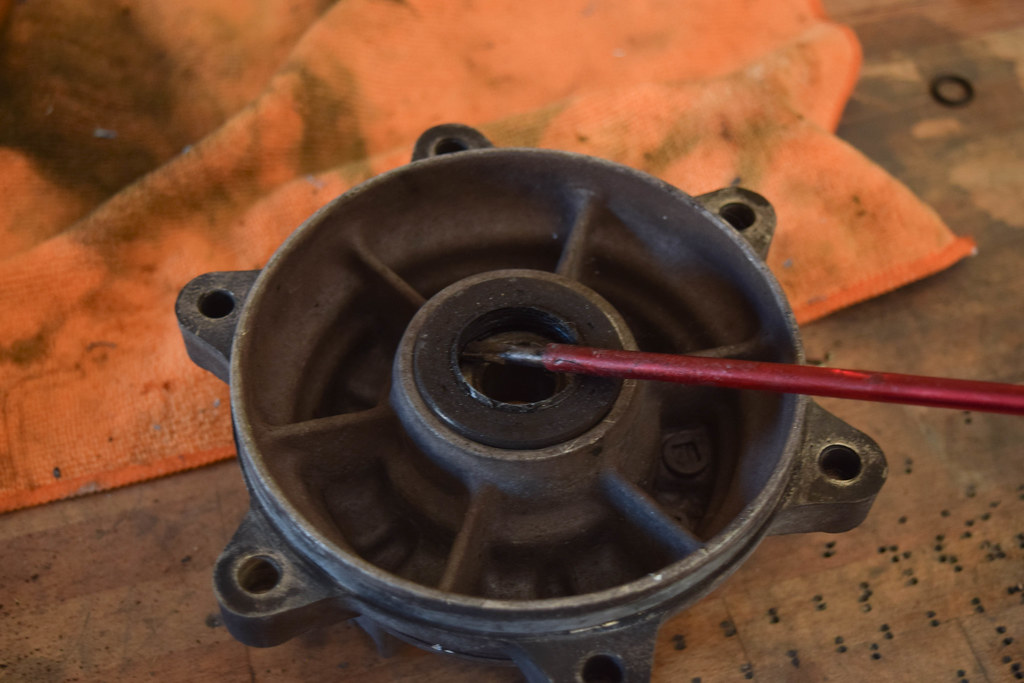
A 1/2" ratchet extension fits the inside of the bearing perfectly and works well with a hammer to drive the bearing out of the sprocket carrier.
 |
| 1/2" ratchet extension positioned on bearing ready to drive it out of sprocket carrier |
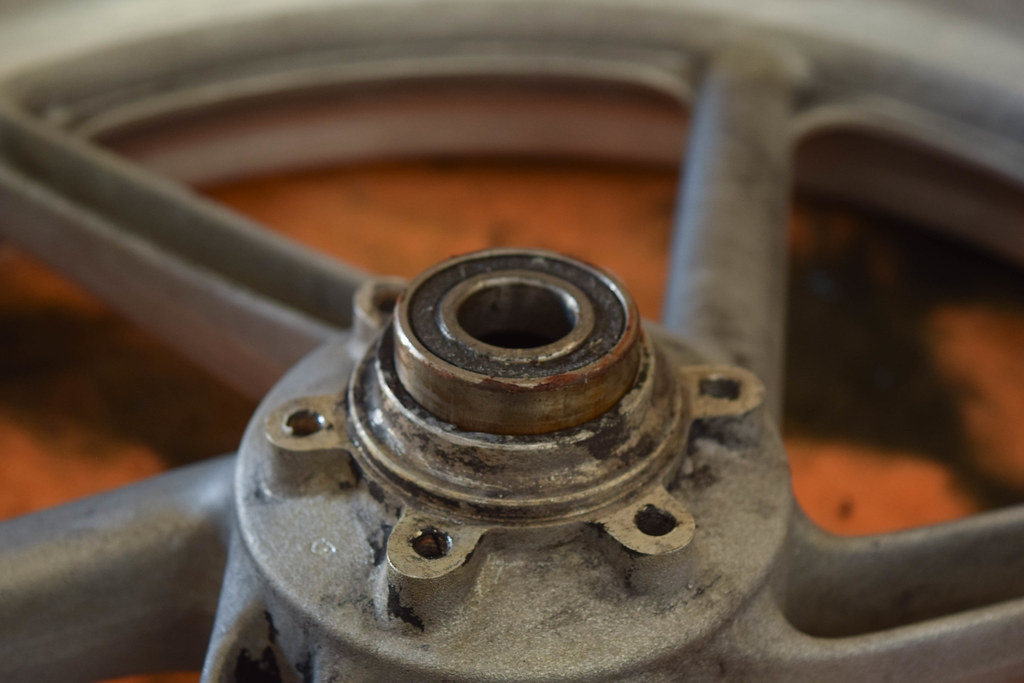
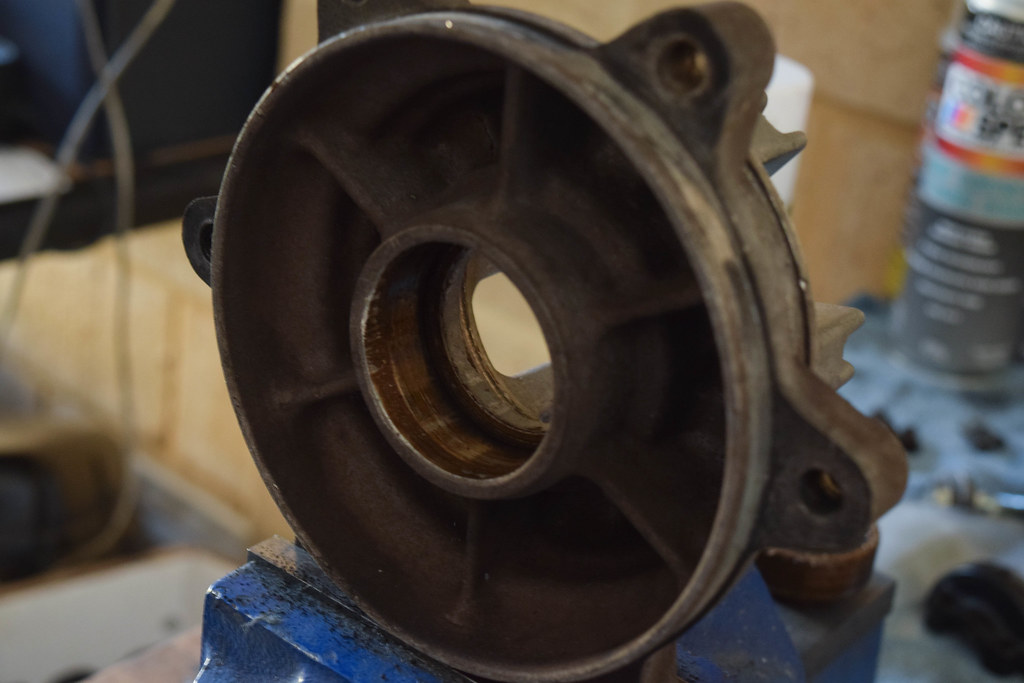 |
| Sprocket carrier bearing removed |
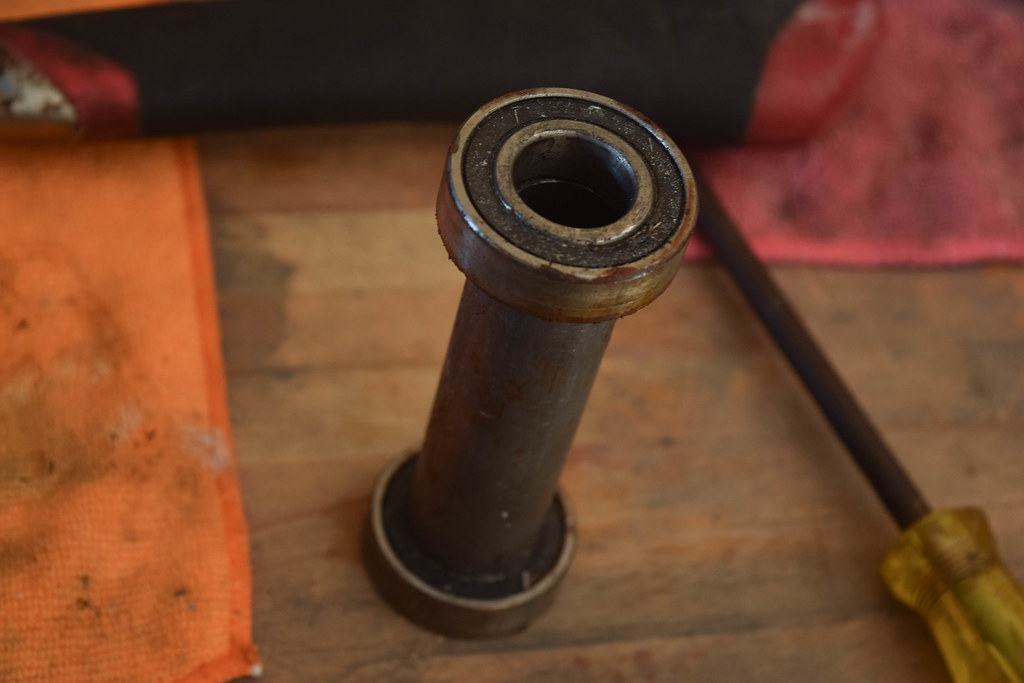
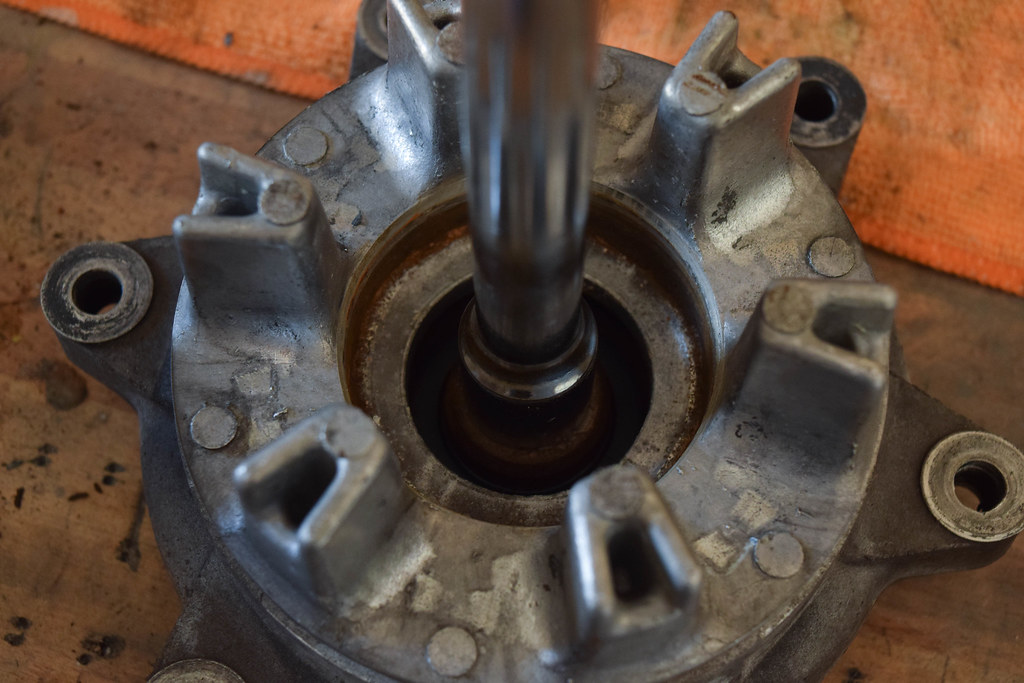
It's important to be mindful of the collar that sits inside the bearing, as that needs to be transferred to the new bearing on reassembly. With the collar hanging free and the bearing held by two surfaces a flat head will lightly tap the collar out.
 |
| Flat head screw driver used to push the collar out of the bearing |
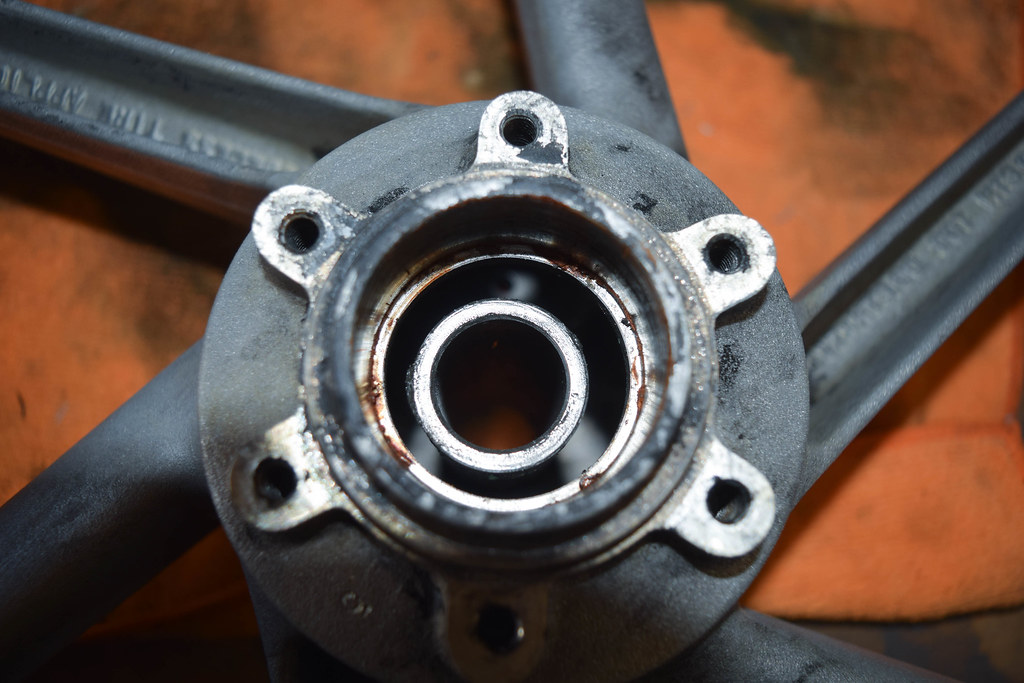
 |
| Collar removed from sprocket carrier bearing |
2. INSTALL
(FRONT/REAR WHEEL)
Installing new bearings is just as straight forward. Important notes are to keep the bearings in a freezer before the install to help ease them into place and, to only apply force to the outer metal ring on the bearings when hammering them back into the wheels to avoid damage (large sockets are good to use for this).
 |
| Bearings in freezer |
 |
| Bearing ready to be hammered in |
 |
| Large socket used to hammer in the bearing evenly |
 |
| Bearing in correct placement |
 |
| Showing alignment between bearings and collar |
The dust seals are then reinstalled/replaced.
The rear wheel is the same setup again.
.
 |
| Rear wheel, bearings and collar installed |
(SPROCKET CARRIER)
The metal collar that was removed from the old carrier bearing needs to be pressed/hammered into the new bearing before reinstalling (it can also be done afterwards but will shift bearing position). Again, a socket is used to press the bearing into the sprocket carrier.
 |
| Bearing with collar installed |
 |
| Dust seal installed |