Friday 24 March 2017

Reassembling Front End, Rear Subframe & Shock

Making a start on reassembling some of the bike, the rear shock, subframe and clip-ons were due for a revisit. The rear shock body had already shown enough of its old age and the blue spring didn't fit anywhere with the intended final colour scheme. All three had one thing in common and that was surface rust, so I worked on removing that first and then moved on to paint. The rear shock is pretty hopeless performance wise but I'll leave that for now.


A poly flap disc removed almost all the surface rust from the subframe and clip-ons, and returned the blue spring on the shock back to bare metal. To get to the pitting and dirt on the shock body I used a sisal buffing wheel which managed to clean the majority of the exposed area under the spring.


For paint I chose "Charcoal Metallic" by White Knight which will hopefully keep it lowkey and match with the final fairing colour. 4-5 coats of base put down and then coated in another 2-3 layers of clear.


Might as well be productive waiting for the coats to dry, oil and filter change for the JZX 🚗


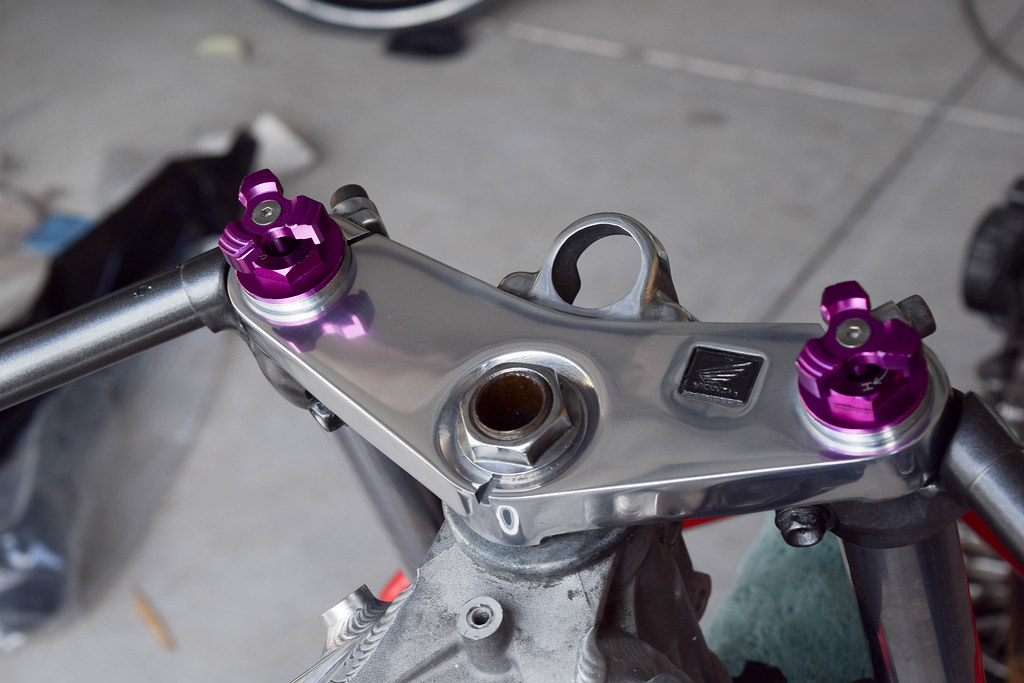
While polishing the frame at some stage I took a break to polish up the top triple too. Once the clip-ons had dried the front end was all good to be reassembled, firstly regreasing the head stem bearings before moving onto bolting the top triple, clip-ons and forks in place.


Next was reinstalling the rear shock and bolting on the subframe.

Thursday 16 March 2017

Fork Rebuild

Rebuilding the front forks was necessary due to the oil seals leaking. New fork seals and dust caps were installed, oil replaced with Motul 15w 'Heavy' and fork caps replaced with 'KKK PRODUCT' preload adjusters. I'll be adjusting the preload again once I've got the bike up and running. 


PROCESS


With the oil drained from the fork, a 17mm hex socket loosens the fork cap to which the spacer, spring seat, and fork spring removes from the inside of the stanchion. 

Both forks disassembled. Top fork as described above, bottom fork fully disassembled and labeled
Gently prying the dust cap from the bottom case with a screw driver allows the snap ring on the outside of the fork seal to be removed.

Unseating the fork seal requires removing the seat pipe from the inside of the bottom case, this is loosened with a 6mm hex socket at the underside of the fork. Due to the seat pipe being able to spin freely while loosening, pressure needs to be placed on the seat pipe from the inside the stanchion; a broom with a rubber stub on the end works well. The rebound spring sits under the seat pipe and removes with it too.
6mm hex socket attached to seat pipe bolt
Pulling the stanchion away from the bottom case causing it to 'top out' repeatedly against the fork seal unseats the guide bushing, backup ring and fork seal; allowing the stanchion to be removed.

At this stage the fork is completely disassembled so components can be wiped clean and checked for damage.

Sliding the stanchion back inside the bottom case, two screw drivers either side of the stanchion can be used to reseat the guide bush; one to apply slight pressure to the bush and one to lightly tap the otherside into place. Again lightly tapping the guide bush while rotating will seat the bush into the bottom case. 

Guide bush seated

Backup ring placed back on top of guide bush.

Backup ring in place

Vinyl tape wrapped around the lip of the stanchion ensures no damage can be caused while the new replacement fork seal is slipped on. A small amount of fork oil applied to inner surface of the fork seal and grease to the outside and inner edge avoids causing damage to the rubber while fitting too. Note the side of the fork seal that has writing must face upwards.


Placing the old fork seal over the top of the new replacement, a length of 40mm PVC pipe over the stanchion and a rubber mallet can be used to reseat the fork seal evenly into the bottom case. Again, by using the old fork seal over the top this protects the new fork seal from damage. It's important to note the fork seal sits behind the trench intended for the snap ring when fully seated, then obviously the snap ring can be installed following the dust cap.

Fork seal and snap ring installed

Placing the seat pipe back inside the stanchion, the seat pipe bolt on the underside of the fork can be tightened to 0.5 ~ 2.0kg-m. The fork spring, spring seat and spacer are then placed back into the stanchion followed by 385ml of 15w fork oil. Lastly, refitting and tightening the fork cap to 1.5 ~ 3.0kg-m.

Sunday 12 March 2017

Frame Polishing

The first stage of the build was to complete polishing the frame. It started from the original 'brushed aluminium' finish and still had its hard anodizing coating which was difficult to remove. Testing different methods was time consuming at first and slowed my motivation so I figured splitting the frame into 6 sections would be better as you can focus more on detail. After spending 3-4 hours sanding each section the result was pretty much a mirror finish. If I was to do it again I would pick a higher grit to start with and invest in more flap discs to use instead of sanding the majority by hand.


PROCESS
  1. Grinder Flap Disc P120 Grit
  2. *P180 Grit Wet
  3. *P360 Grit Wet
  4. Grinder Poly Flap Disc 'Fine'
  5. *P600 Grit Wet
  6. *P800 Grit Wet
  7. *P1200 Grit Wet
  8. Sisal Wheel w/ Fastcut Compound
  9. Sisal Wheel w/ SS Compound
  10. Loose Leaf w/ 'PURPLE' Metal Polish
*Note: Changing direction/going against the previous grain is necessary to see whether the previous grit is sanded smooth. Example: sanding up and down with 180 grit, followed by sanding left and right with 360 grit.